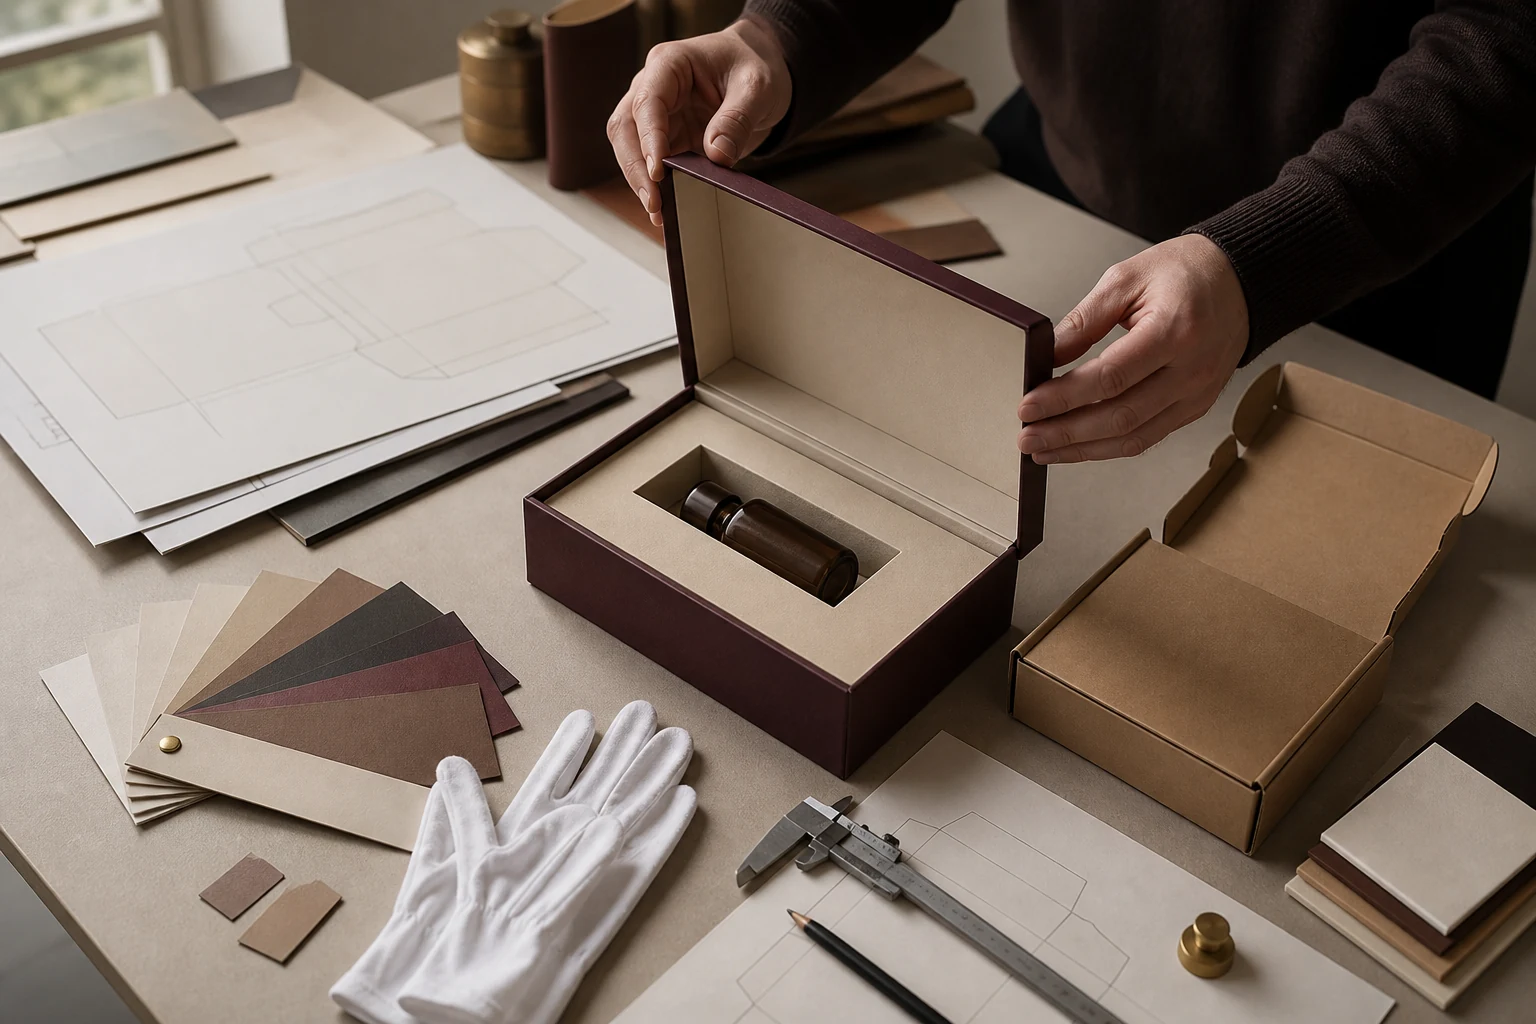
A custom packaging sample is not a miniature production order. It is evidence for a specific decision. One sample may prove that the product fits; another may show artwork position; a third may represent the actual paper, ink and finish. Problems begin when a buyer approves one type of sample as if it proves everything.
Packaging and ecommerce discussions repeatedly expose the same gap: a beautiful rendering or handmade prototype receives a quick “approved,” but no one records which dimensions, board grade, dieline, color reference or manufacturing process the approval covers. When the production run arrives, both sides remember a different promise.
First, know which packaging sample you are approving
The word “sample” can describe several different deliverables. Ask the supplier to identify the sample type, how it was made and what may change in mass production.
3D mockup or rendering
Useful for artwork direction, visible panels and presentation. It does not prove fit, material behavior, physical color or manufacturing accuracy.
Blank CAD-cut sample
Useful for dimensions, assembly, closure and product fit. Cutting and scoring may differ from production tooling.
Digitally printed prototype
Useful for copy, panel orientation, image scale and overall impression. Color and finish may not match the intended production process.
Pre-production sample
Intended to represent final materials and artwork more closely. Confirm which equipment and processes are the same as production.
A production-equivalent sample is not automatically available or economical for every project. The practical goal is to combine the right evidence: a blank structural sample for fit, a controlled color or finish reference, a signed artwork proof and a written specification.
Checks 1–5: approve the structure and product fit
Comparing board specifications? Read our GSM versus thickness guide before treating two material samples as equivalent.
Structure approval
- Confirm whether dimensions are internal or external
Measure length, width and depth at several points. Internal dimensions govern product fit; external dimensions affect overpacking, storage and freight. Record the measurement method instead of relying on a single number in an email.
- Test the real product, accessories and tolerances
Use production-intent products where possible—not only a perfect engineering model. Include cables, manuals, caps, refill pouches or other items that share the box. Check natural product variation and the clearance needed for packing.
- Inspect the packaging dieline and panel orientation
Use the manufacturer’s production dieline at full scale. Cut, crease, bleed, safe areas, glue zones and non-print areas should be clear. Fold a printed paper copy to catch upside-down panels and artwork hidden beneath flaps.
- Check opening, closing and repeated handling
Open and close the box several times. Watch for lid resistance, weak locking tabs, cracked scores, magnet alignment, drawer friction and ribbon position. A one-time reveal and a reusable gift box require different levels of durability.
- Time assembly and packing
Ask the people who will actually pack orders to build the sample. Record seconds per unit, tape or glue use, fixture needs and common mistakes. A complex box that photographs well may create an expensive fulfillment bottleneck.
Checks 6–10: approve artwork, color and finish
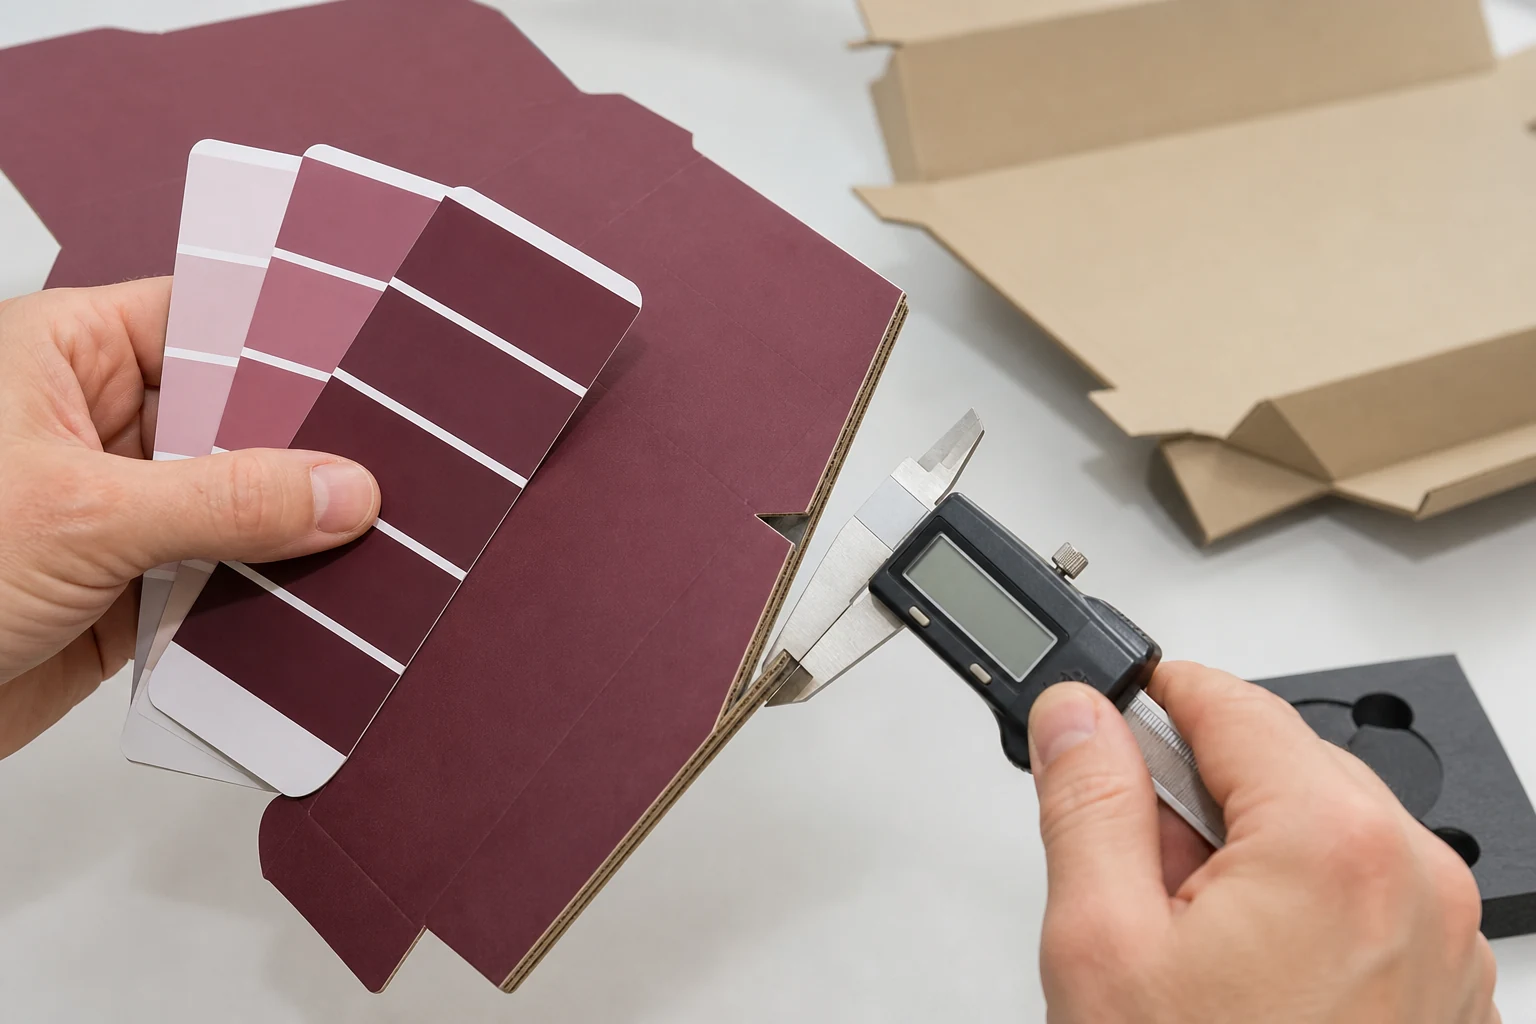
Print and finish approval
- Freeze one artwork version
Put a version number and approval date on the artwork proof. Confirm copy, spelling, language, legal marks, net contents, SKU identifiers and panel orientation. “Final-final” filenames are not a version-control system.
- Approve color using the intended process
Define whether colors are process builds, spot colors or another agreed system. Record the substrate, coating and viewing condition because the same ink can appear different on white paper, kraft paper or laminated surfaces. When color is critical, request a physical packaging color proof or Pantone color proof made on the intended material where the production process allows it.
- Separate content approval from color approval
A PDF packaging proof can confirm text, position, overprint behavior and image placement. It should not be treated as a reliable physical color standard unless the proofing workflow is specifically controlled for that purpose.
- Inspect finish registration and interaction
Check foil position, emboss or deboss depth, spot coating, lamination, varnish and soft-touch surfaces. Decorative processes can shift relative to print, soften fine detail or change perceived color. Test rub, fingerprints and scuffing on the real finish.
- Review edges, folds and glue areas
Look for exposed board, color cracking on scores, peeling wrap, adhesive squeeze-out, lifting corners and artwork crossing a fold. Decide what variation is acceptable on areas created by hand finishing or machine registration.
Checks 11–14: test the packaging in real use
Performance approval
- Verify insert retention and product removal
Turn and gently shake the packed sample. The product should remain controlled without becoming frustrating to remove. Check finger notches, pull ribbons, pressure points and whether the insert marks delicate surfaces. Compare relevant insert and material options before locking tooling.
- Test the complete shipping system
Presentation packaging may still need a protective outer carton, cushioning and sealing method. Test the full packed system for its expected parcel, pallet or retail route—not the empty gift box by itself. Choose route-appropriate drop, vibration or compression evaluation when the risk warrants it.
- Check labels, barcodes and operational marks
Apply the actual shipping or inventory label. Confirm that it lies flat, adheres to the surface and does not cover required artwork. Scan real barcodes after printing and finishing; leave production areas for date, lot or regulatory coding where needed.
- Simulate storage and customer handling
Consider stacking, humidity, temperature, dust and shelf time. Observe bowing, blocking, odor, surface marking and color transfer. Then ask someone unfamiliar with the package to open it without instructions and note where the experience becomes unclear.
Checks 15–17: lock what production must match
Production control
- Record what is representative and what is production-equivalent
List differences between the sample and mass-production method: cutting, scoring, printing, laminating, mounting, gluing or assembly. A CAD-cut edge or hand-applied wrap may behave differently from production equipment even when the specified material is the same.
- Create a golden sample and signed specification
Label the approved physical sample with the project, SKU, version and date. Buyer and supplier should each retain a reference where practical. Pair it with the technical specification, because appearance alone cannot identify board grade, caliper, adhesive or print method.
- Define inspection and change control before the run
Agree which characteristics will be inspected, how they will be measured and what happens if production differs. Require written approval before substituting paper, changing the insert, adjusting dimensions or using another process. Confirm whether first-off photos, video or samples are required before the full run continues.
Build one packaging approval record
Scattered messages are difficult to enforce and easy to misunderstand. Keep one approval record that links the physical sample to the production files and purchase specification.
Minimum approval pack
- Project and SKU name
- Sample type and date
- Internal and external dimensions
- Material, grade and thickness
- Insert material and fit notes
- Approved dieline version
- Artwork and copy version
- Print and color references
- Finish specifications
- Known sample-to-production differences
- Inspection criteria
- Approver names and date
Photograph the sample from consistent angles, including defects or intentional limits. Keep the approved product configuration with the record. When a revision is made, issue a new version rather than modifying the old approval silently.
Frequently asked questions
Can a 3D mockup replace a physical packaging sample?
No. A rendering can help review artwork direction and visible panels, but it cannot prove fit, board stiffness, opening behavior, physical color, finish interaction or shipping performance.
What is the difference between a packaging prototype and a pre-production sample?
A packaging prototype may be hand-cut, CAD-cut or digitally printed for structure and visual review. A pre-production sample should be closer to the intended material, artwork and process. Ask the supplier to identify every difference rather than relying on the label alone.
How much should a custom box sample cost?
There is no universal price. Structure, tooling, material, printing, finish, handwork and shipping all affect sample cost. Judge the fee against the production risk it removes, and ask whether any part is credited toward a later order.
How should packaging color be approved?
Define the print process, substrate, coating, physical color reference, viewing conditions and acceptance method in writing. Use a screen PDF for content and position, not as the only standard for a critical physical color.
Why can production packaging differ from the sample?
Samples and production may use different cutting, scoring, printing, laminating or assembly methods. Material lots and machine settings also vary. Record the intended production specification and require written approval for substitutions or process changes.
Who should keep the golden sample?
Ideally both buyer and supplier retain clearly labeled references, supported by identical specification and artwork versions. If only one physical reference exists, agree where it is stored and how it will be used during inspection.
Approve with evidence
Plan the sample around the decision it needs to prove.
Share your product, target structure, artwork, quantity and delivery route. Triya Gift can help define a sample path, document the production specification and prepare the project for quality inspection.
Start a packaging sample brief