Gift Box Insert Finger Notches, Lift Ribbons or Removable Trays?
By Triya Gift Packaging Team · Published and updated October 29, 2026
The direct answer
Design the product's removal path at the same time as its retention. A finger notch creates access beside an item, a lift ribbon works beneath it, and a removable tray lifts an organized group. Choose between them using the actual product, its safe grip areas and the intended opening sequence. Review the loaded sample for access, movement and surface marking rather than selecting an opening feature from a rendering alone.
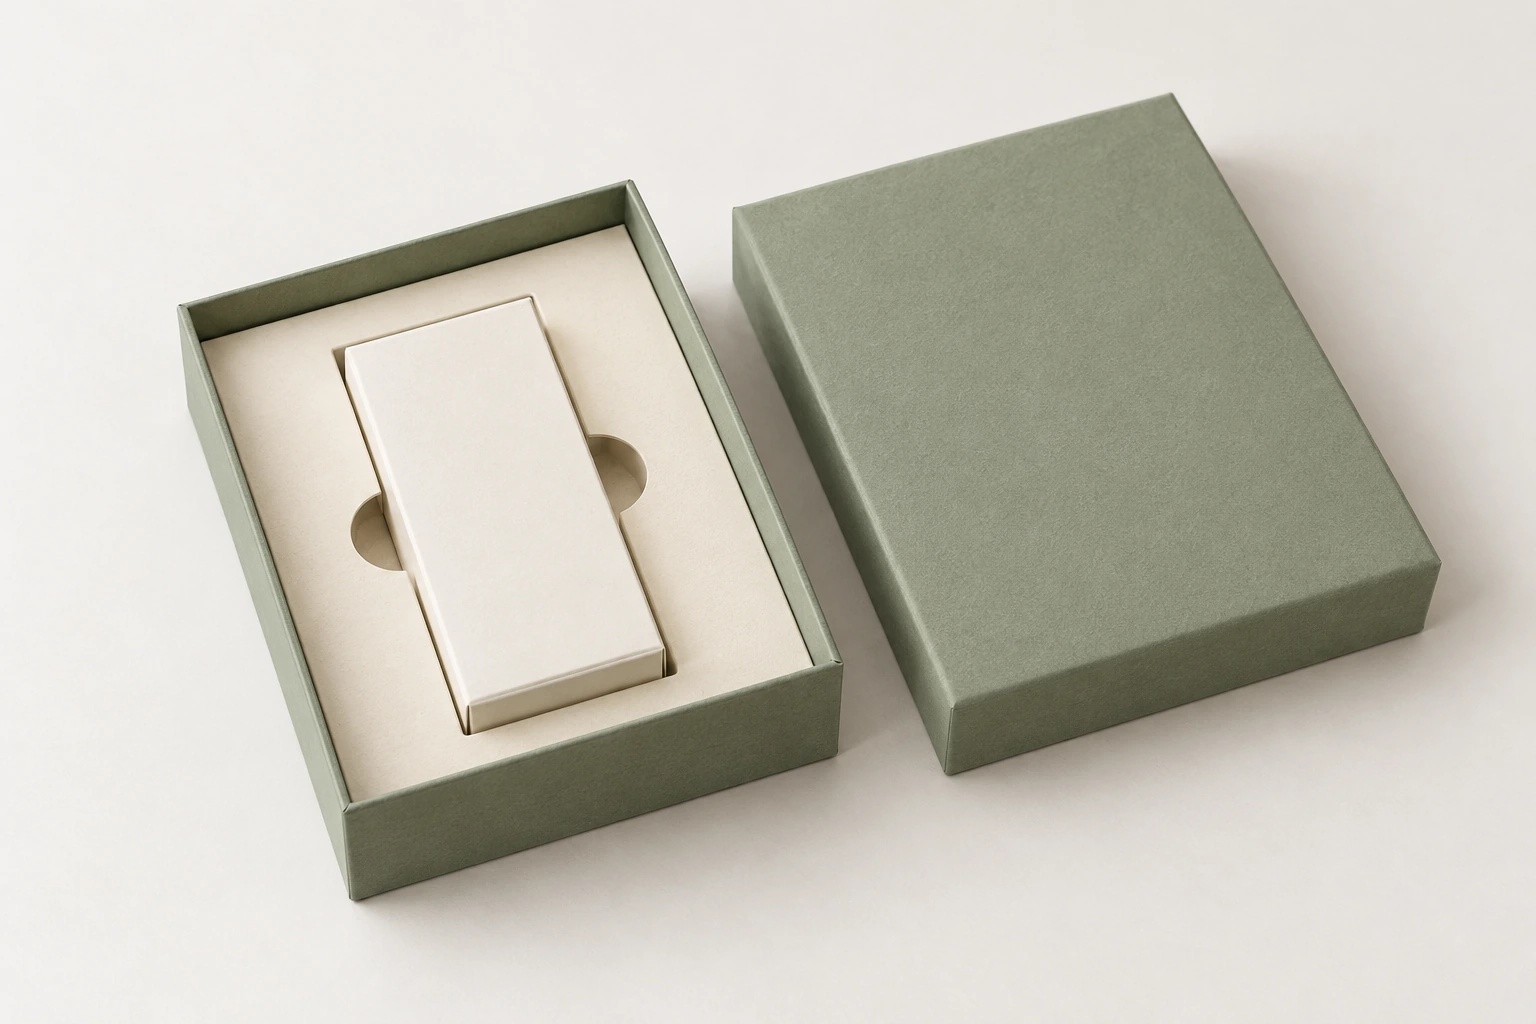
Scope: Secondary presentation packaging for non-food products and separately contained gifts. The layouts are illustrative concepts, not verified customer projects. This guide proposes a sample-review method; it supplies no universal clearance, lifting capacity or transport-test result.
Start with the moment after the lid opens
A closely fitted insert may look tidy yet leave the recipient wondering where to put their fingers. The design brief needs two separate outcomes: the item stays in its planned position, and the recipient can remove it using a deliberate motion.
An older Reddit discussion about difficult packaging includes people describing unclear opening methods. It is not a study of gift boxes or a current demand statistic. It does, however, suggest a useful design question: can someone who did not design the pack discover the intended opening without guessing?
Our custom box insert material guide covers material choices. This article focuses on a different decision: access geometry and the sequence from presentation to removal.
Three access routes, three different jobs
| Feature | What it changes | What must be checked |
|---|---|---|
| Finger notch | Exposes a grip area beside the product | Whether fingers reach a suitable surface without weakening necessary support |
| Lift ribbon | Provides a lifting route from beneath the item | Routing, reachable end, attachment if used, lift stability and surface contact |
| Removable tray | Moves several items or a complete arrangement together | Tray stiffness, grip points, loaded balance and clearance from the outer box |
A ribbon on a drawer front opens the drawer; it does not automatically lift a product out of its cavity. A decorative bow is not a lifting feature. State the function on the structural drawing so similar-looking components are not substituted.
Route A: a finger notch beside a safe grip area
A finger notch is an intentional opening in the insert edge next to an item. Its purpose is access, not simply visual decoration. Locate it where the user can grip a suitable part of the product or primary carton.
Before discussing the notch shape, identify surfaces that should not carry the removal load. A loose cap, a delicate display panel or an easily marked finish may be a poor place to grip. The product owner should identify the acceptable contact area rather than leaving the insert designer to infer it from a photograph.
Ask the supplier to show the product outline, insert depth, notch location and nearby support on the same drawing. An attractive semicircle is not enough if the item sits too deep to reach. Conversely, simply enlarging the opening may remove support that the product needs.
Use the loaded physical sample to decide the geometry. Do not transfer a notch dimension from another SKU merely because the outer boxes match.
Route B: a lift ribbon under a flat item
A lift ribbon can be evaluated when access beside a product is limited or a flat item needs a clear lifting cue. The free end must remain visible and reachable after the full assortment is packed.
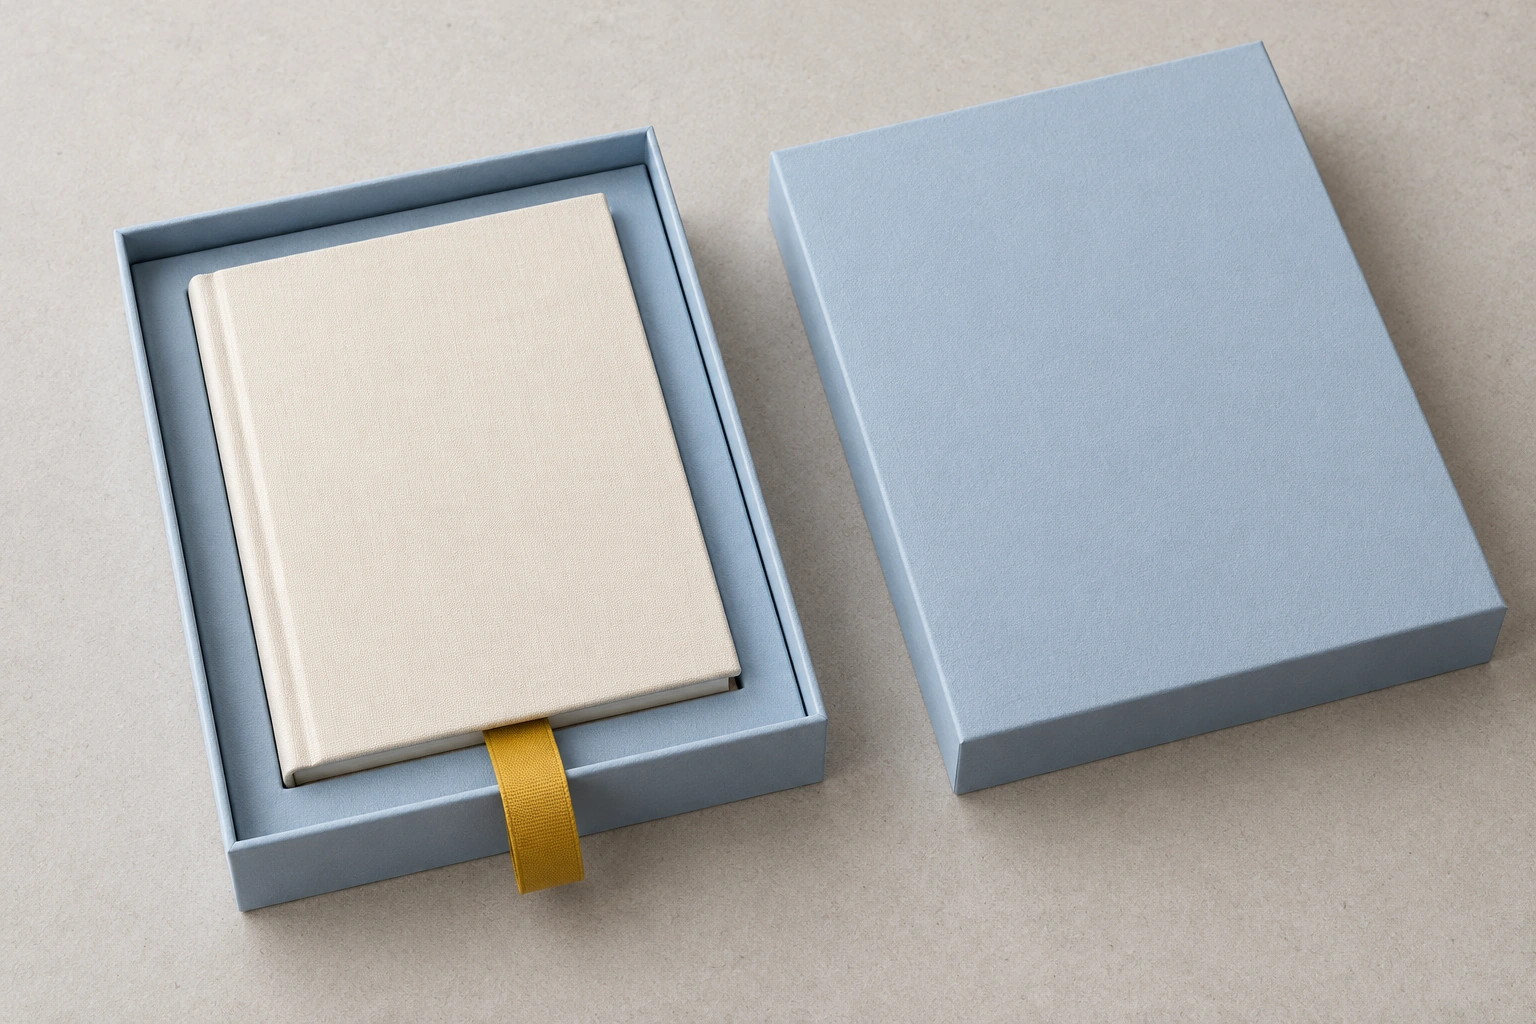
Specify the ribbon route and the intended motion. A loose under-product loop and an attached ribbon are different constructions. If attachment is required, document the proposed location and method, then evaluate the loaded sample; do not assume the ribbon or adhesive has a particular lifting capacity.
Check whether the item rises evenly or tips into a neighboring surface. Also review the ribbon's contact with coatings, edges and accessories. A fabric strip should not be treated as automatically non-marking or suitable for every product finish.
For a notebook or compact accessory, a lift ribbon may expose a grip area rather than perform the entire removal. Make that sequence clear in the brief: lift slightly, grasp the supported item, then remove it. Do not encourage lifting heavy or fragile products by an unverified ribbon assembly.
Route C: a tray that comes out with the assortment
A removable tray is worth evaluating when several items should remain organized after the outer box is opened. It introduces a second structure: the tray must function inside the box and during the intended removal.
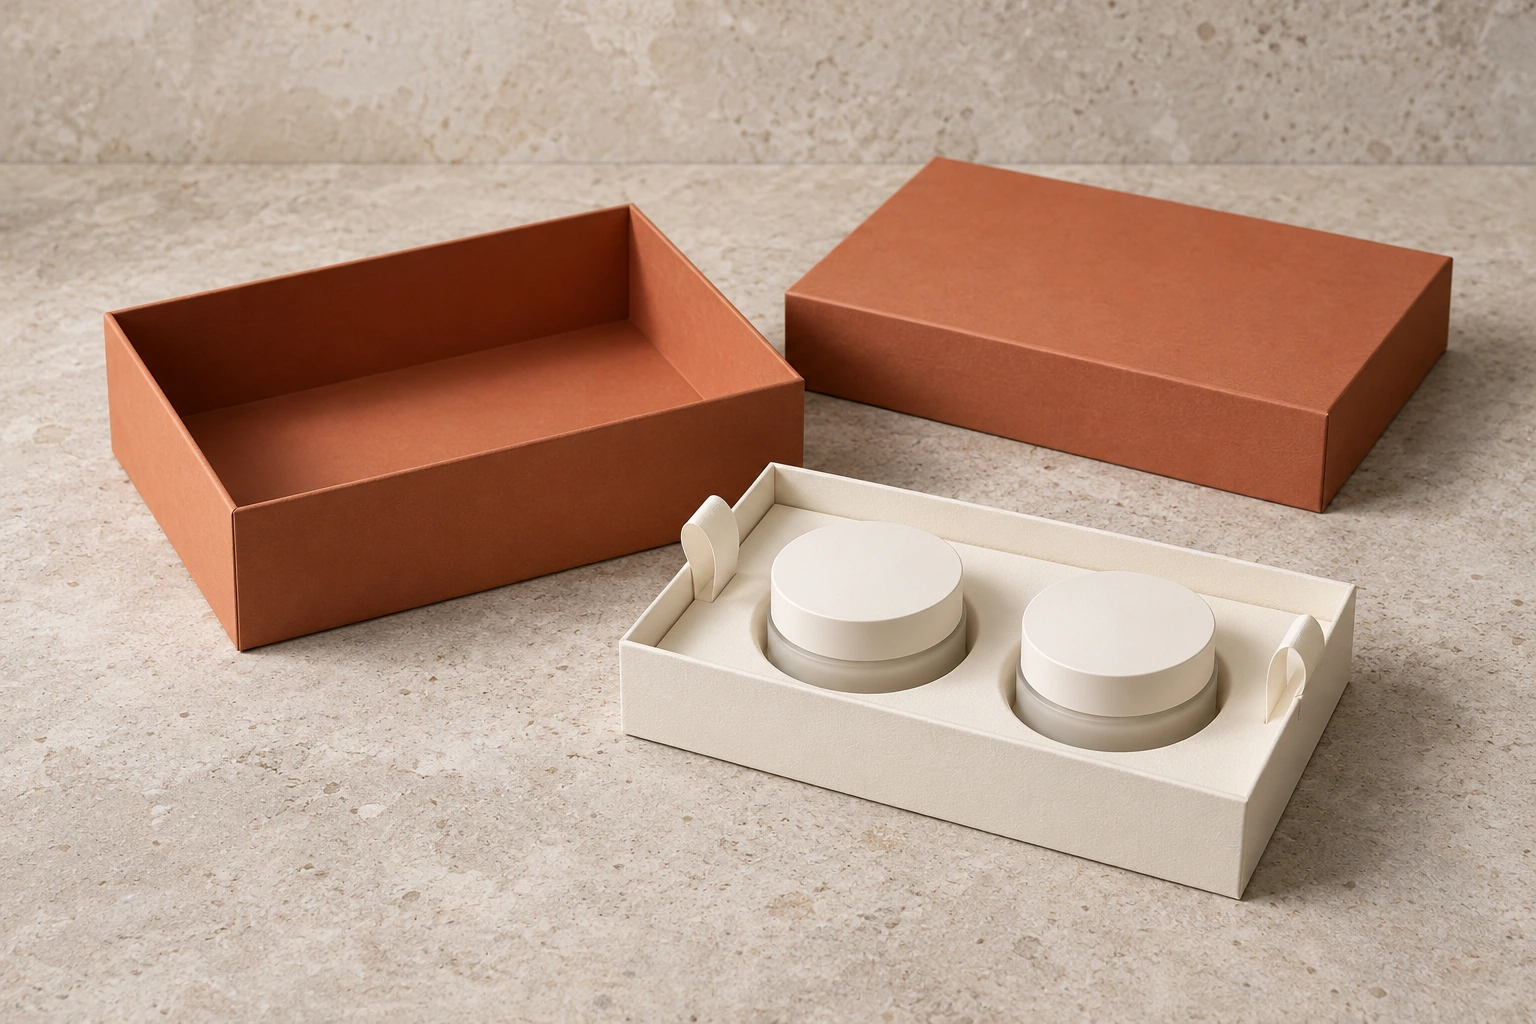
Document the contents of the tray, their positions and the proposed grip points. Check how the loaded tray behaves when both grip points are used as intended. Observe bending, tipping, snagging and whether any item can escape its compartment.
A removable tray is not automatically a carrying tray or reusable storage container. If either function is important, include it as a separate requirement with an appropriate sample and performance review.
Run a removal-path review before approving the insert
Use a complete sample with the actual products, primary packs, cards and decorative components. Agree the review conditions and acceptance criteria with the supplier. The following is a proposed buyer-side workflow, not a standardized accessibility or transport test.
- Record the version. Identify product SKUs, insert material and drawing revision, box style, accessories and the expected removal order.
- Record the intended action. Photograph the grip point and describe whether the recipient grasps the item, pulls a ribbon or lifts a tray.
- Observe an unfamiliar reviewer. Ask someone who did not create the design to open the pack and remove the contents. Record where they hesitate, reach for an unintended part or need an explanation. Do not present a small internal trial as proof of universal accessibility.
- Inspect the surfaces. Check the product, insert and access feature for rubbing, tearing, bent tabs, loose attachments or contact marks after the agreed sequence.
- Recheck retention separately. Confirm that an access change has not undermined the agreed location and protection requirements. Appropriate distribution testing remains a separate decision for the complete loaded pack.
| Record field | Example of an observation to capture—not a result claimed here |
|---|---|
| Discovery | The reviewer notices the intended notch or free ribbon end |
| Grip | The specified product surface is reachable |
| Motion | Removal follows the planned direction without catching |
| Stability | The item or tray remains controlled during the action |
| Surface condition | No unacceptable mark appears under the agreed review conditions |
| Version decision | Approve the sample or identify a drawing change and repeat affected checks |
Record the number of trials, reviewers, date, conditions and issue locations. Retain before-and-after photographs and the approved sample. If a numerical removal-force limit is needed, have an appropriate specialist define the instrument, fixture, speed and reporting method before setting a limit. This guide does not invent a force threshold.
Match the feature to the opening style
With a lid-and-base gift box, review overhead access after the lid is removed. With a magnetic rigid box, account for the attached lid and flap when locating the grip area. With a sliding drawer box, review drawer access first and product removal second; the outer sleeve can affect the space available for the hand.
Include decorative tissue and cards in the trial. A neatly placed card can conceal the lift ribbon; a wrapping fold can fill a notch that looked generous in an empty sample. Review the full presentation rather than approving the insert by itself.
Buyer questions
What is the right finger-notch size for a gift-box insert?
There is no universal dimension supplied here. Develop the opening around the product's grip area, depth, insert material and needed support, then confirm it with a loaded sample.
Is a lift ribbon better than a finger notch?
Not in every application. They create different access routes. Compare the intended motion, reachability, product contact and stability using the same actual product and agreed review conditions.
Can one insert serve several product versions?
Only after reviewing each affected configuration. A new cap, carton finish, weight or orientation can change both retention and removal even when the outer dimensions appear similar.
Does easier removal mean less protection?
It can create a trade-off, but it is not a conclusion to assume. Evaluate access and retention as separate requirements, then validate the complete packing system for its intended distribution.
Request an insert and opening review
Send Triya Gift the actual product dimensions and weight, photographs of safe grip areas, preferred box style, removal order, decoration and quantity options. Include the destination and whether the gift will ship by parcel.
Ask for a drawing and sample proposal that shows retention and removal together. Confirm material availability, tooling, sample costs, quantity terms and schedule for the actual specification.